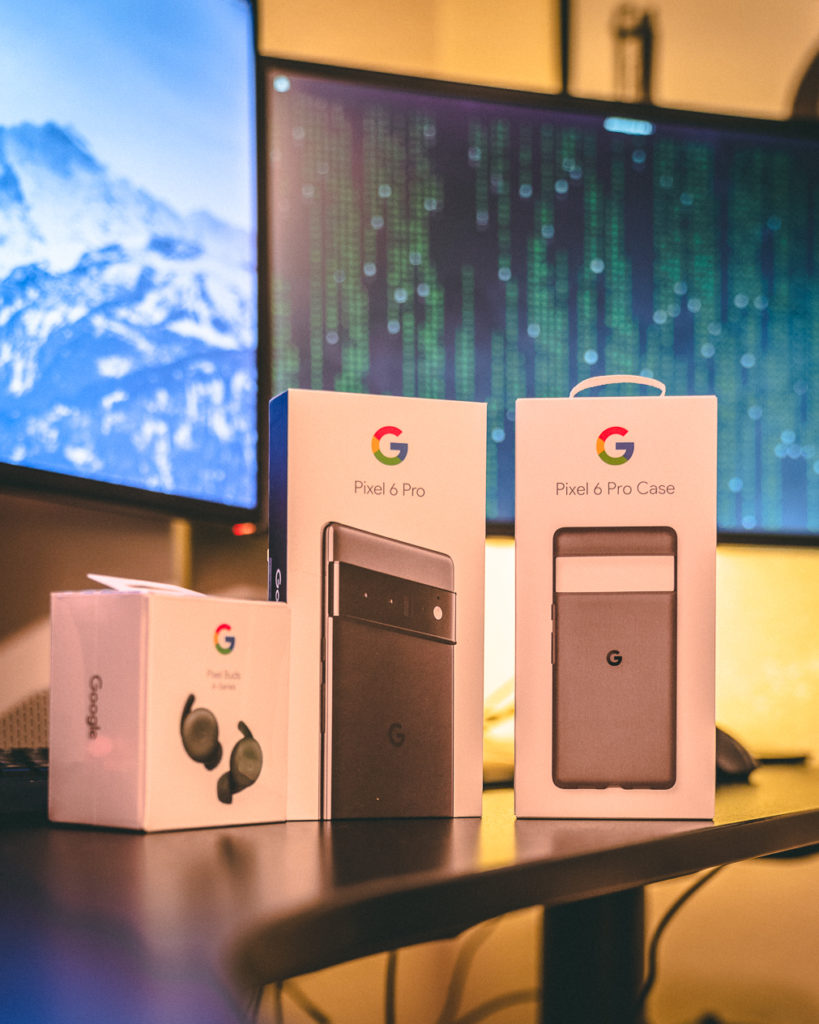
Have you been wanting to de-google your phone? Calyx OS is a great option. We have been running Calyx OS for about a year on devices ranging from the Pixel 3a, 3a XL, 4 XL, 5 and now the 6 and 6 pro. We will be writing another pos ton installing Graphene OS on the Google Pixel 6 but this article is focused on installing the Calyx OS ROM on the Google Pixel 6 Pro device.
Follow these steps to get Calyx OS installed on your Google Pixel 6 Pro smartphone. Depending upon which operating system you are using to flash the phone we recommend visiting the official Calyx OS guide for the Pixel 6 Pro here – https://calyxos.org/install/devices/raven/
Prepare your Android device
There are a few things you must do to prepare your device to accept a new operating system:
Enable Developer Options
Settings → About Phone → tap Build number 7 times
Enable USB debugging
Settings → System → Advanced → Developer Options → USB Debugging
Enable OEM Unlocking
Settings → System → Advanced → Developer Options → OEM unlocking
This step might fail if there is no internet connection. In that case, connect to a WiFi network and remove SIM card, then try again.
Prepare your host computer
Linux packages
The device-flasher program needs certain udev rules installed. The device-flasher will set these rules up for you, but it may ask for your sudo password to do so. Alternately, you can install one of the following packages to correctly set the udev rules in advance.
Debian, Ubuntu, & derivatives:
sudo apt update
sudo apt install android-sdk-platform-tools-common
Fedora & derivatives:
sudo dnf install android-tools
Arch Linux:
sudo pacman -Sy
sudo pacman -S android-udev
openSUSE:
sudo zypper install android-udev-rulesYour phone should be private.
– Calyx OS
Once you have setup your computer for installing you will need to download the device flasher and the Calyx OS image.
Download the device flasher here
Download the Calyx OS image here
Save this image in the same directory as device-flasher. This image will only work for Pixel 6 Pro (raven). Any attempt to install this image on a different device model may brick (destroy) the Android device.
Do not extract or rename the zip, simply copy it as-is.
Once downloaded, the next step is to verify the image. This step is optional, but verification helps ensure that you downloaded the image correctly, and that you got the correct image.
Verify Digest
To verify the image, open a terminal window on the host computer where you saved the image and run the command:
sha256sum raven-factory-22300000.zip
And ensure the result says dfc0d5bcf713a25e36f0e4fdf8807518f01d641e523fb9adc6dec9d426c0ec1c. This is the unique digest of the image file. If it doesn’t match, then you have a corrupted or incorrect file.
Verify Signature
For the highest level of confidence, you can optionally download the signature file and then verify image signature.
Install CalyxOS
Run device-flasher
Now you are ready to install. Ensure that both the CalyxOS image and device-flasher are in the same directory.
Step 1. Connect the USB cable between the computer and the Android device.
Step 2. Run device-flasher
Open a terminal, change to the directory with the firmware image, and run:
chmod +x device-flasher.linux
./device-flasher.linux
Unlock the bootloader
At some point in the installation process, it will ask you to unlock the bootloader.
NOTE: if the bootloader is already unlocked, you will not see the unlock bootloader menu and installation will proceed automatically without you needing to touch anything.
Press a volume key to select UNLOCK THE BOOTLOADER option. Then press the power key to activate that option.
These instructions are directly from the Calyx OS installation page, if you have any issues you can reach out on the community page or post a comment below.
Stay tuned for upcoming posts on how to setup and use your Calyx OS phone with as much freedom as possible.